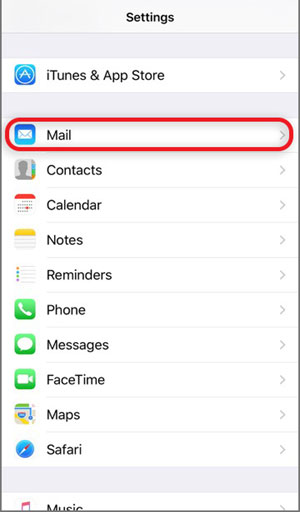
Step 1: Select the Settings icon on your home screen
Step 2: Select Mail
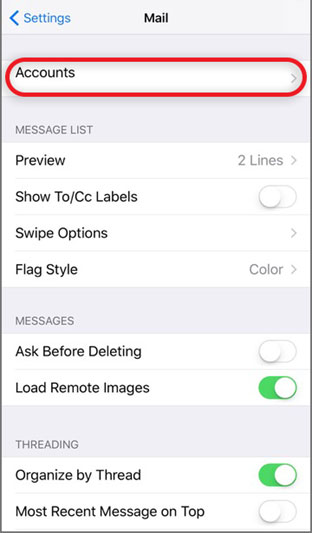
Step 3: Select Accounts
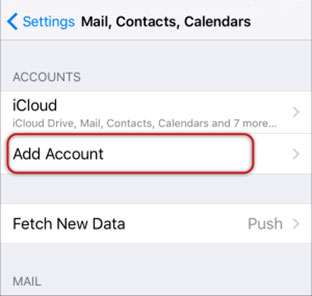
Step 4: Select Add Account
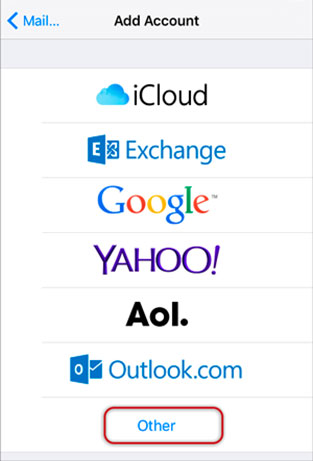
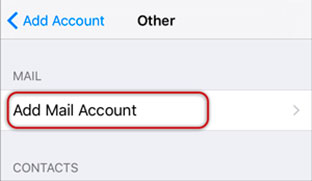
Step 5: Select Other from the menu
Step 6: Select Add Mail Account
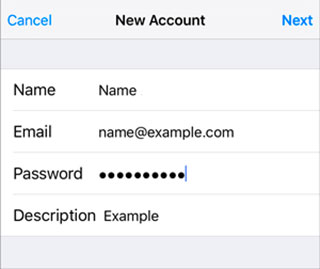
Step 7: Enter your Name, Email & Password and then click Next
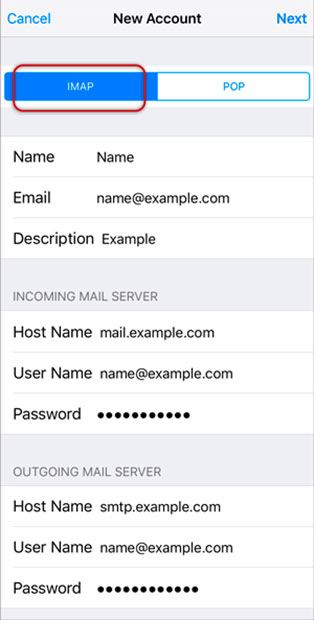
Step 8: Select IMAP . Scroll down to Incoming Mail Server and enter all the relevant details, then do the same for Outgoing Mail Server, as in the screen below and then select Next.
- Ensure that User Name is the full email address. User Name & Password are the same for both Incoming & Outgoing servers.
- Incoming Mail Server Host Name is mail.example.com
- Outgoing Mail Server Host Name is mail.example.com
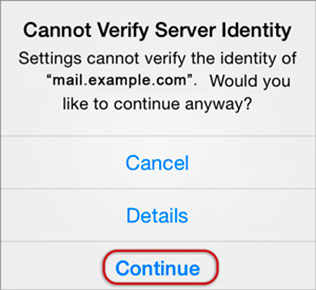
Step 9: You may receive a prompt asking you to verify the incoming and outgoing servers – you can click continue for each or tap “Details” and then tap “Trust”
Step 10: Save
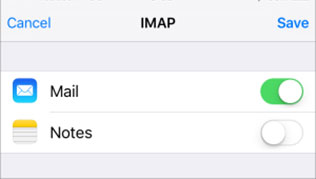
Step 11: Choose the new account that you’ve just created
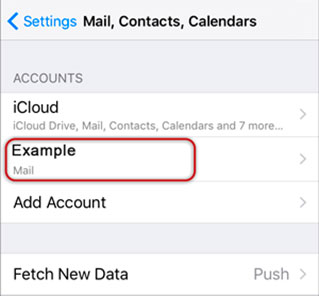
Step 12: Choose the SMTP server
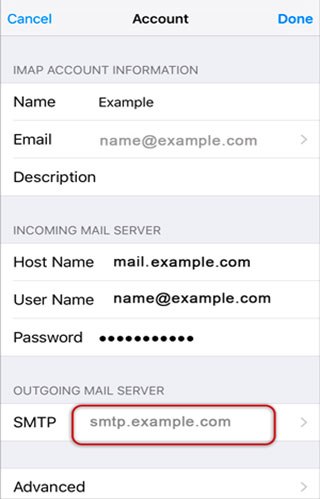
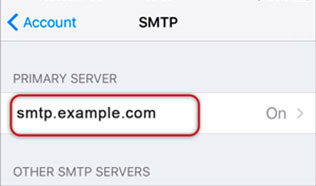
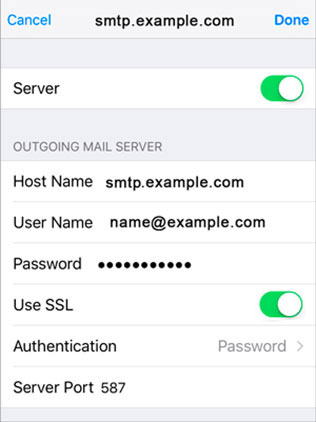
Step 13: Check the SMTP settings and click Done
- Outgoing Mail Server Host Name for yourdomain.tld is mail.example.com
- User Name: Full yourdomain.tld email address
- Password: Your email password
- Use SSL is On. You can also turn it off and use the correct Port number as below.
- Outgoing (SMTP) Secure – Port: 465 for and Security Type: SSL/TLS (Accept all certificates)
- Outgoing (SMTP roaming server) Secure – Port: 587 and Security Type: SSL/TLS (Accept all certificates)
- Outgoing (SMTP) – Port: 25 and Security Type: None (Accept all certificates)
- Outgoing (SMTP roaming server) Insecure – Port: 587 and Security Type: None (Accept all certificates)
- Authentication is Password
- Server Port is 587
Congratulations! You are all done here and ready to use your email account on your iPhone.

